


Transforming Your Driveway: A DIY Journey
As a homeowner, tackling a DIY driveway project can not only increase your home’s curb appeal but also boost your property’s value. Many homeowners overlook the importance of a well-maintained driveway; however, it's the first impression visitors get. This article dives into practical options for upgrading your driveway, particularly for homeowners in Folsom and El Dorado Hills, California, who may enjoy DIY projects but prefer professional help for the heavy lifting.
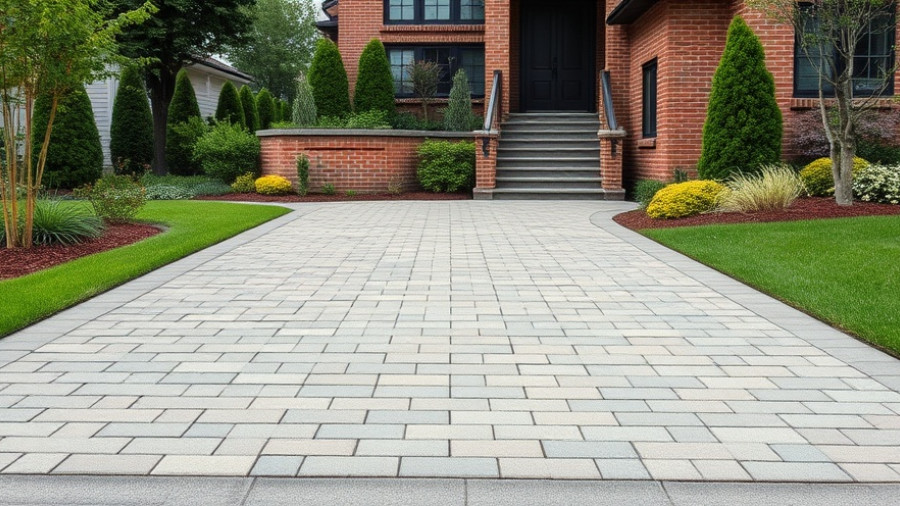
Exploring the Benefits of Driveway Pavers
A paver driveway is an elegant, functional option that can withstand the elements while enhancing your home’s aesthetic. Permeable pavers, in particular, are notable for their environmental benefits, allowing rainwater to filter through and reduce runoff. According to Left Coast Pavers, permeable driveways can absorb an impressive 10 inches of rain per hour, making them ideal for rainy seasons. When planning your driveway renovation, consider these pavers not only for their style but also for their functionality.
Budgeting Your Driveway Renovation
Before you launch into a new driveway installation, budget considerations are paramount. TRUEGRID Pavers emphasizes that understanding your financial boundaries will guide your material choices and project scope. This means asking vital questions: what is your total budget? What materials align with your budget yet satisfy your home’s design needs? The ideal driveway should balance costs with quality, ensuring longevity and aesthetics without breaking the bank.
Step-by-Step for DIY Driveway Success
If you’re ready to get your hands dirty, here’s a concise step-by-step guide for your DIY driveway project:
- Design and Planning: Determine your driveway’s width, length, and layout. A common recommendation is a 16-20 foot wide opening that allows easy vehicle maneuverability.
- Ground Preparation: Excavate to the appropriate depth based on the selected materials (typically 8-12 inches for driveways). Ensure the area slopes away from any structures for optimal drainage.
- Base Layer Installation: Lay a solid base of gravel followed by a sand layer to stabilize your pavers. Compaction at this stage is crucial to prevent future settling.
- Laying the Pavers: Start from the lowest corner, keeping everything level and checking often with a spirit level.
- Finishing Touches: Sweep sand into the joints and compact the surface to secure pavers in place. Remember to allow time for everything to set before use.
Why Seek Professional Help for Your DIY?
Although DIY projects can be rewarding, sometimes it's best to combine your efforts with professional assistance. Especially for larger jobs, hiring someone who can ensure proper installation and potentially save you time and effort can be wise. Seek local contractors who can complete the hard work while still allowing you to be involved in the process.
With these tips in hand, you’re now better equipped to transform your driveway into a stunning entrance to your home. Whether you choose to DIY or collaborate with professionals, your driveway project can be a rewarding endeavor.
Ready to start your driveway project? Embrace the opportunity to enhance your home while creating a valuable outdoor asset!


Write A Comment