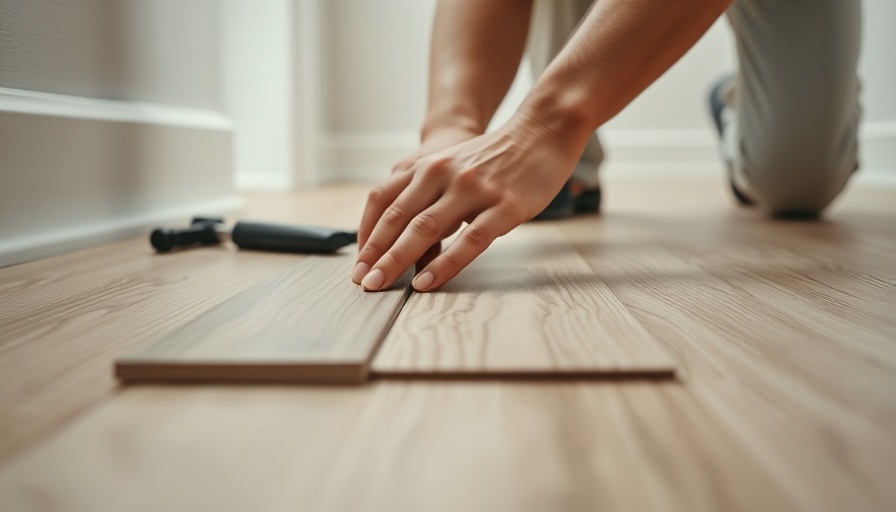
Introduction to Quick Vinyl Plank Repairs
Vinyl plank flooring offers durability and a sleek design that can transform any home. Yet, this resilient flooring is not impervious to damage. Homeowners in Folsom and El Dorado Hills, California, often seek quick and effective solutions to repair their floors without incurring hefty contractor fees. Fortunately, with the right tools and a bit of DIY spirit, you can restore your flooring to its former glory in no time.
Understanding the Repair Options
There are two primary methods for repairing vinyl plank flooring, depending on the quality of the planks and the extent of the damage. For high-quality brands, the easiest method involves removing and replacing the damaged plank. Alex Ciocek of Summerlin Floors explains that it’s possible to unclick the planks from the corner, replace the damaged piece, and then reinstall the flooring. However, this method may not apply to lower-quality brands, which risk breaking during the unclicking process.
This brings us to the second option: cutting out the damaged plank and gluing in a replacement. Although not recommended by professionals, it can be a stopgap solution if handled carefully. It’s essential to remember that this method can change the nature of your flooring from a floating installation to a glued-down one, potentially causing issues with surrounding planks over time.
Essential Tools and Materials for Successful Repairs
Having the right tools is crucial for a smooth repair process. You will need:
- A chisel and hammer for precise cutting
- A circular or oscillating saw to remove damaged sections
- A utility knife to score edges and cut planks accurately
- A pry bar and a pull bar for lifting planks without damage
- Finish nails and superglue for securing new planks in place
Key Steps for DIY Vinyl Plank Flooring Repair
Here’s a simplified step-by-step guide to help you navigate the repair process effectively:
- Remove Baseboard: Score the top edge of the baseboard with a utility knife and gently pry it off the wall.
- Pry Up the Damaged Plank: Use a pry bar to lift the last installed plank from the corner and make your way to the damaged area.
- Replace the Plank: Unclick the damaged plank, replace it with a new one, and reinstall the flooring.
This straightforward approach can be executed in just a couple of hours, making it an attractive option for homeowners looking to maintain their homes affordably.
The Joy of DIY
Taking on vinyl plank repairs not only saves you money but also gives you a sense of accomplishment. Moreover, armed with the right knowledge and tools, any homeowner can tackle minor repairs with confidence. Remember that for more complex issues, it's advisable to consult a professional.
Embarking on home repairs can be a fulfilling journey that enhances your living space. So gather your tools and become your own home improvement hero!
 Add Row
  Add
Add 


Write A Comment