Add Row
Add Element
cropper
update

EDH & Folsom DIY Tips

update
Add Element
  • Home
  • Categories
    • Life Hacks & Local Resource Tips
    • Tips, Tricks and Shortcuts
  • Windows, Screens & Shading Solutions
  • Seasonal Home Maintenance
  • DIY Home Projects
  • Energy Efficiency & Smart Homes
  • Curb Appeal & Exterior Upgrades
  • Local Spotlights & Homeowner Resources
  • Safety & Home Security Tips
  • Pest Prevention & Outdoor Comfort
July 14.2025
2 Minutes Read

Unlock Your Home's Potential with Easy DIY Stair Wainscoting

DIY stair wainscoting installation process by skilled man.

Transform Your Stairway: DIY Wainscoting Made Simple

Homeowners in Folsom and El Dorado Hills, rejoice! You can give your stairway a stunning makeover with easy DIY wainscoting. This project not only adds elegance and character to your home but is also a chance to express your personal style. Picture frame molding is a popular choice due to its simplicity and classic aesthetic, making it ideal for any setting.

Why Picture Frame Molding Works

This method of wainscoting stands out because it's incredibly accessible for DIYers of all skill levels. It requires minimal tools and can be adapted to plan your unique design. Picture frame molding offers a sophisticated look without the complexities that some other styles, like board and batten, might involve. Many homes, particularly colonial ones, already incorporate picture frame molding in other areas, making it a fitting choice that promotes a cohesive aesthetic throughout your living space.

Required Materials: Getting Started

Before diving into your project, gather the right tools and materials. Essential items include:

  • 5/16 in. x 11/16 in. panel colonial moulding
  • Finger joined chair rail moulding
  • Miter saw or hand saw
  • Cordless brad nailer
  • Carpentry pencil
  • Wood filler and paintable caulk
  • Fine grit sandpaper
  • Military protractor for precise angles

If you do not own power tools, consider renting them to save costs. Always prioritize safety measures while using these tools!

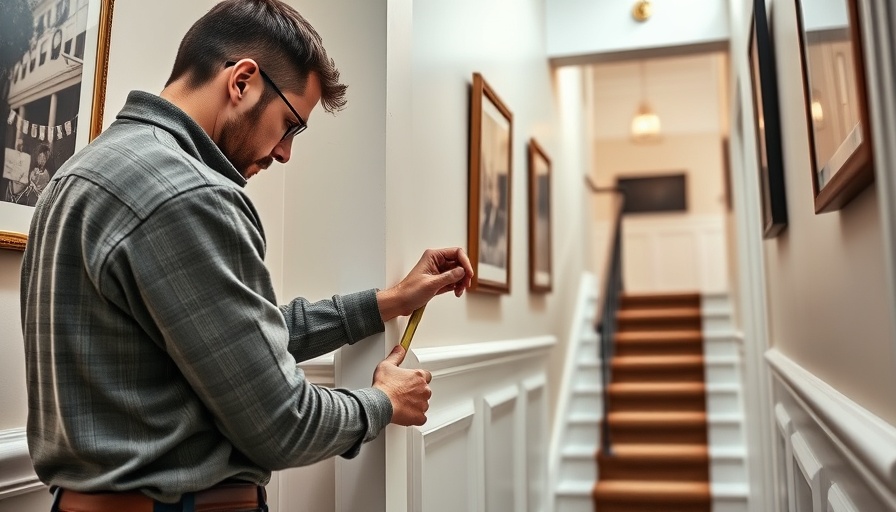
Steps to Success: Installing Your Wainscoting

The process begins by installing the chair rail. Mark the desired height (recommended height is about 36 inches from the floor) along the wall, following the angle of the baseboard. Cut your chair rail piece at a straight cut and position it against your marked line. Using a brad nailer, fasten it securely to the wall.

After securing the chair rail, cut additional pieces at 45-degree angles for a seamless look. This design choice not only enhances visual appeal but also simplifies future adjustments, should you decide to change things up down the line.

Beyond the Basics: Adding Your Personal Touch

As you complete the installation, don’t miss the opportunity to personalize your wainscoting. Consider painting the trim in a contrasting color or adding decorative elements like wallpaper above the chair rail to make the overall design pop.

For Folsom and El Dorado Hills homeowners, embracing DIY projects like wainscoting can transform your living space. Your efforts not only enhance your home but also provide a satisfying sense of accomplishment. Dive into your DIY adventure today and redefine your stairway!

DIY Home Projects

Write A Comment

*
*
Please complete the captcha to submit your comment.
Related Posts All Posts

How You Can Replace Your $20 Oven Part and Save $800

Update Your Oven Doesn’t Have to Be the Enemy Many homeowners dread the moment when their oven stops working, often fearing the hefty repair bill that can accompany a service call. Instead, consider taking on the challenge yourself. One homeowner shares their success story of replacing an oven igniter for just $20, avoiding an $800 repair. This article outlines the steps they took and how you, too, can embark on a successful DIY repair journey. Understanding the Role of the Oven Igniter Oven igniters are crucial components in gas ovens, responsible for initiating the gas flow and igniting it to produce the heat needed for baking and cooking. When an igniter fails, it can lead to frustrations like delayed meal preparations or, worse, the oven emitting a gas smell. Understanding these signs can save time and money, as many homeowners just replace the unit instead of diving into the cause. Step-by-Step Guide to Replacing Your Oven’s Igniter Replacing an oven igniter might sound complex, but it's a straightforward repair that many homeowners can accomplish with a bit of patience. Start by ensuring your oven is powered down and the gas line is turned off. Gathering necessary tools, including screwdrivers and wire nuts, sets the stage for an effective process. Following clear, step-by-step video tutorials can make removing the old igniter and installing the new one seamless. Experts recommend that if you’re unsure of your skill level, consulting segmented guides—like those from appliance repair blogs—can boost your confidence and improve your execution. The Benefits of DIY Repairs Beyond the immediate financial savings, mastering appliance repairs instills a sense of empowerment. DIY repairs can enhance your understanding of how household appliances work, minimizing the fear often associated with home maintenance. Additionally, accomplishing such tasks can serve as a confidence-building exercise, transforming you from a reluctant homeowner to a savvy one. Residents of Folsom and El Dorado Hills can particularly benefit as they often seek practical tips suited for the unique community setting. What You Gain from Knowing Your Oven Learning to tackle small maintenance tasks, like changing an igniter, opens the door to addressing other home improvement challenges. Knowing your tools, parts, and maintenance tasks can save considerable time and money over the long term. Embrace the spirit of DIY and share your stories with the community to inspire others! Take Action! Explore Your DIY Potential Could your kitchen use a little love? Why not start with a simple oven igniter replacement? With just a $20 investment and some guidance, you can free up significant funds for other projects. Turn your kitchen woes into triumphs!

How Homeowners in Folsom Can Cut Tile Like a Pro: Tips & Tools

Update Master the Art of Tile Cutting for Your DIY Projects If you're a homeowner in Folsom or El Dorado Hills looking for easy yet effective DIY home improvement methods, mastering tile cutting is a skill you won't want to overlook. Whether you're installing new flooring or retiling your bathroom, knowing how to cut tiles correctly and safely can save you both time and frustration. Getting to Know Your Tools When it comes to cutting tile, choosing the right tool can make all the difference. The three essential tools every DIYer should master are: Manual Snap Cutter: Perfect for beginners, this tool is ideal for straight cuts on ceramic and porcelain tiles. It provides clean edges when used with precision. Angle Grinder with Diamond Blade: This versatile tool is your best friend when dealing with curves or intricate shapes. However, it requires a steady hand and appropriate safety gear, including safety glasses and a respirator. Wet Tile Saw: For projects that demand heavy-duty cuts, especially on thicker tiles, a wet tile saw is invaluable. It minimizes dust and provides the cleanest cuts, making it a favorite among experienced DIYers. Five Pro Tips for Flawless Tile Cutting Cutting tiles successfully comes down to preparation and technique. Here are five expert tips to ensure perfection: Measure Twice, Cut Once: Making accurate measurements is crucial. Always double-check your measurements before making any cuts. Setup Your Workspace: Ensure you have a clutter-free area to work, using clamps to secure tiles while cutting to prevent accidents. Use the Right Safety Gear: Don't skip on safety gear; goggles and a vacuum system can reduce dust and protect your eyes. Practice Makes Perfect: If you're new to tile cutting, consider practicing on scrap tiles to build your confidence before you cut the actual tiles. Have a Garbage Bag Handy: Tiles can shatter during cutting. Keeping a garbage bag close will help in cleanup and managing tile waste! By mastering the art of tile cutting, you empower yourself to take on bigger DIY projects with confidence. Whether you're motivated by aesthetics or increasing your home's value, being able to make custom tile cuts is a game changer for any DIYer. Ready to transform your home? Equip yourself with these tips and tools, and start your next DIY project with newfound confidence!

Choosing the Right Size Tractor: Essential Tips for Homeowners

Update Understanding Tractor Sizes: The Key to Effective DIY Projects When embarking on home landscaping or agricultural projects, one of the essential decisions homeowners must make is choosing the right size tractor. With numerous tasks requiring different capabilities—from mowing your lawn to hauling materials—understanding the tractor sizing categories will ultimately determine the success of your projects. Why Size Matters: Avoiding the Common Pitfalls The size of the tractor significantly impacts its usability and your efficiency. If a tractor is too small, you may find it struggling with larger tasks, ultimately wasting time and effort. Conversely, investing in a tractor that is too large can lead to overspending and difficulty maneuvering in tight spaces. The goal is to find a tractor that suits your specific needs without sacrificing performance or budget. The Three Main Categories of Tractors Tractors are typically categorized by their horsepower, which influences their strength and application. Sub-Compact Tractors (

Terms of Service

Privacy Policy

Core Modal Title

Sorry, no results found

You Might Find These Articles Interesting

T
Please Check Your Email
We Will Be Following Up Shortly
*
*
*